Make Windows 11 Easier and Interesting
I must admit upfront—I probably shouldn’t be writing this article. By putting it together, I’m essentially helping people tolerate Windows 11. This guide strips away many of its annoyances and unnecessary features, which might convince some to stick with it rather than avoid it. Ironically, that’s the opposite of what I personally believe, since I don’t think Windows 11 is worth using.
That said, I also recognize that many users don’t have much of a choice. For practical reasons—whether it’s work requirements, specific software, or gaming—Windows is often unavoidable. Alternatives like Linux exist, and I’ve already begun moving in that direction myself, but the transition is complex, time-consuming, and not feasible for everyone.
For most people, it’s simpler to tame an unruly operating system than to abandon it altogether. So if users are going to try to make Windows 11 bearable, they deserve a solid guide to do it properly. That’s exactly what this article aims to provide. Let’s get started.
Why Not Windows 11?
Let me take a few minutes to explain my reasoning. The answer is straightforward: Windows 11 adds no real value. Functionally, it offers what Windows 10 already does. Ergonomically, it’s worse. From a privacy standpoint, it’s also a step back.
I’ve been using Windows for around 30 years, starting with Windows 3.11, and I continue to do so. Every day, I spend increasing amounts of time managing it, ensuring that unnecessary features don’t interfere with my workflow. I’m a highly pragmatic user: I choose technology based on my needs, not the other way around.
Windows XP was solid. Vista, on the other hand, was largely pointless. Its high hardware requirements prevented widespread adoption, and it was largely ignored. Windows 7 improved on Vista and added significant 64-bit support compared to XP, which justified the switch for me in 2011.
Windows 8 was a complete failure. Its attempt to introduce touch to the desktop was doomed from the start—touch interfaces on non-touch devices simply don’t work. Like Vista, it was ignored.
Windows 10 was essentially “Windows 7 TNG.” From my perspective, it offered little new. This aligns with the slowdown in meaningful CPU performance gains since around 2011–2012. Earlier, every new hardware generation brought substantial speed improvements, but that’s no longer the case. Windows 10 didn’t need much beyond Windows 7. Its flat, half-touch interface actually made ergonomics worse, and the Settings app was inferior to Control Panel. I only moved to the newer version of Windows 10 in late 2019 or early 2020 when I upgraded my hardware, though my old desktop had served me perfectly for over eight years.
Now we have Windows 11. It imposes arbitrary hardware requirements, echoing Vista’s mistakes. The actual performance improvement is minimal. Some areas of ergonomics are slightly better, but others have regressed. The Start menu feels pointless, File Explorer is slow, and the context menu offers little value. On top of that, Windows 11 pushes a “mobilized” desktop with subscription-driven features and ads—a frustrating insult to anyone who values control over their system.
Logically, Windows 11 offers no real benefits. That’s why, from my perspective, it’s entirely unnecessary.
| Migration | Pros | Cons |
|---|---|---|
| Windows 7 over Windows XP | 64-bit support | |
| Windows 8 over Windows 7 | None | Start Screen |
| Windows 10 over Windows 7 | None | Flat UI Settings vs Control Panel Online account annoyances Automatic updates |
| Windows 11 over Windows 10 | None | Performance File Explorer performance File Explorer usability Start menu & taskbar Context menu Online account setup Hardware requirements |
Now, don’t believe me? No need. DATA. That’s what you need to look at:
That’s it—case closed. The same pattern happened with Vista, and again with Windows 8. Users don’t have to be geniuses to recognize when something doesn’t make sense. Strip away the marketing and emotion, and look only at the facts: in terms of usability, Windows 11 offers nothing that Windows 10 doesn’t already provide, yet it manages to make many things worse.
With that in mind, I’ve put together this guide to help you bring Windows 11 under control. Think of it as my personal approach—you’re free to adopt it fully, take only the parts you like, or ignore it altogether. This is simply how I view computing and how I believe a desktop should function: clean, efficient, and free from the distracting “modern” gimmicks that add no real value. And with that, let’s begin.
Before You Install – Prerequisites
Before starting the setup and configuration of Windows 11, make sure you have the following tools ready:
- Windows 11 ISO – Use the English International version for best compatibility.
- Rufus – To create a bootable USB drive from the ISO.
- Firefox (full installer) – I’ll be setting this as my default browser.
- ExecTI – A handy utility to disable some of Windows 11’s more irritating behaviors.
- Winaero Tweaker – Essential for customizing and fixing Windows 11 defaults.
- Open-Shell – A replacement for Windows 11’s underwhelming Start menu.
- Autoruns – To manage and disable unnecessary startup items.
Save all of these onto a USB stick—you’ll need them before going online in Windows 11.
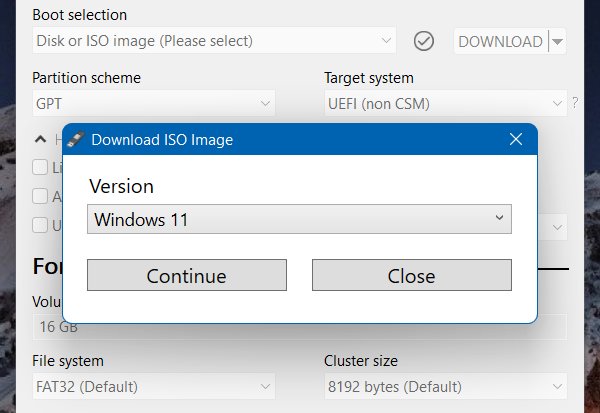
Burn ISO to USB drive
The next step is to create bootable media. In Windows, you can use Rufus, a superb tool that comes with lots of extra handy options. As I’ve outlined in my review, it can also download the latest media for you, so you don’t need to manually grab the ISO file, and most importantly, it can skip certain steps in the installer, including the pointless requirement for an online account.
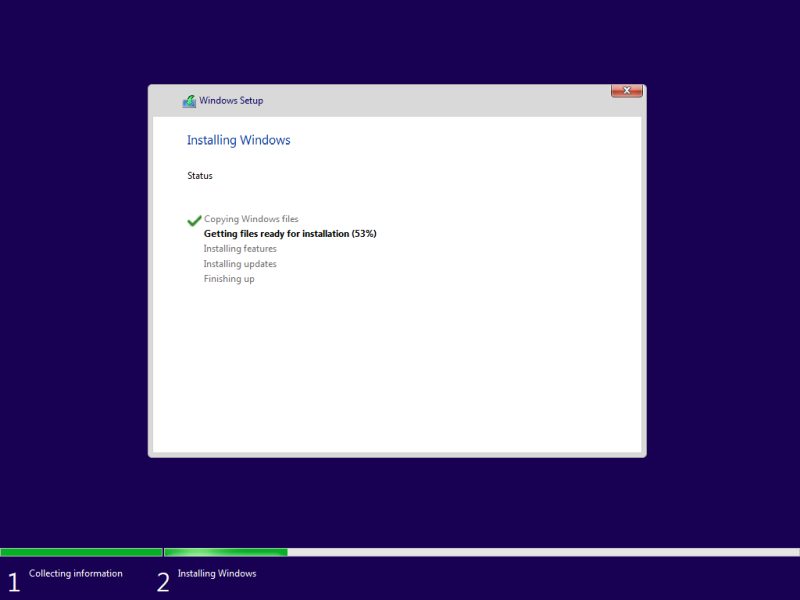
Begin Installation
- Disconnect from the network – This is crucial. Make sure you’re offline before starting.
- Boot from the installation media and follow the prompts. If you’re using the International version, the installer language will default to English (UK). Don’t worry—you can switch to your preferred language and region after installation.
- Choose your edition – If you have the license, I recommend Windows 11 Pro. It gives you more flexibility:
- Skip online account creation more easily.
- Use Group Policy to disable automatic updates and Windows Defender.
- Apply additional system controls not available in Home.
For this guide, however, I’ll demonstrate using Windows 11 Home to show how to handle the more restrictive version. The same tweaks apply to Pro as well, with the added convenience of using the Group Policy Editor instead of manual registry edits.
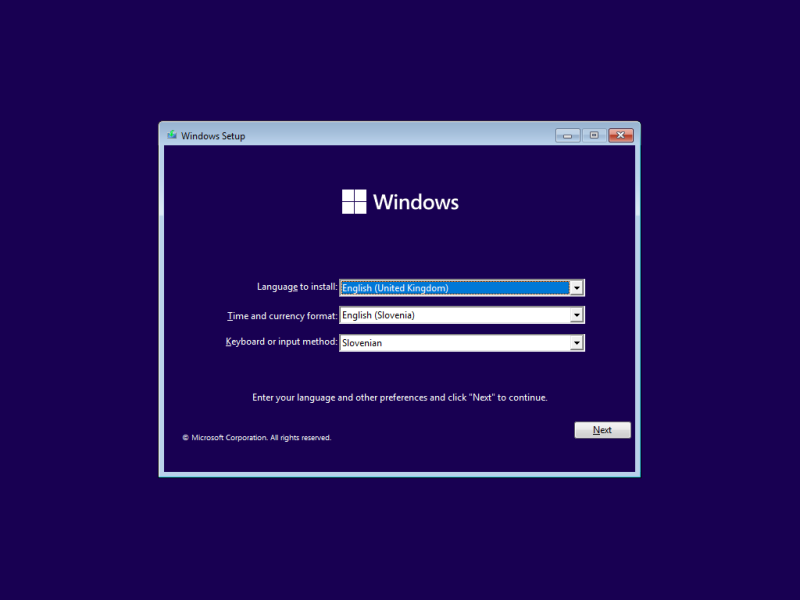
An example of what you can choose – I would never choose any keyboard layout other than US, though.
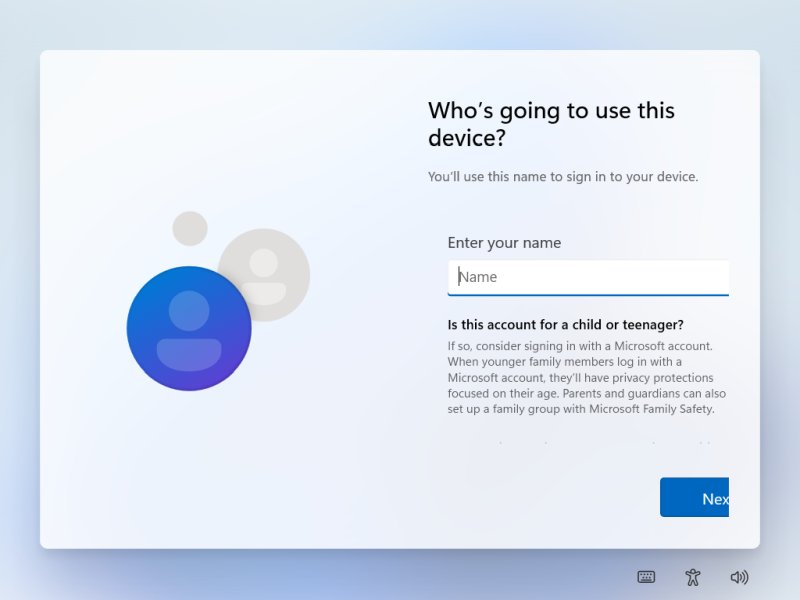
User Account Setup
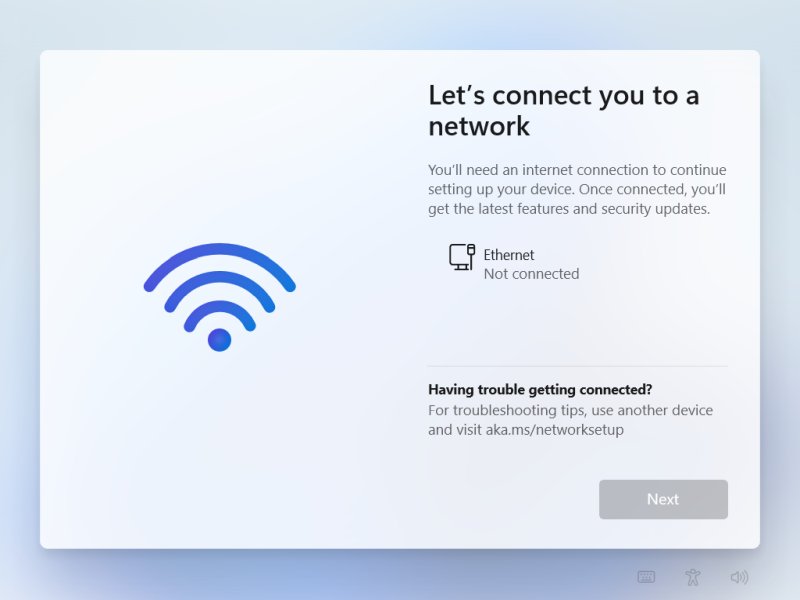
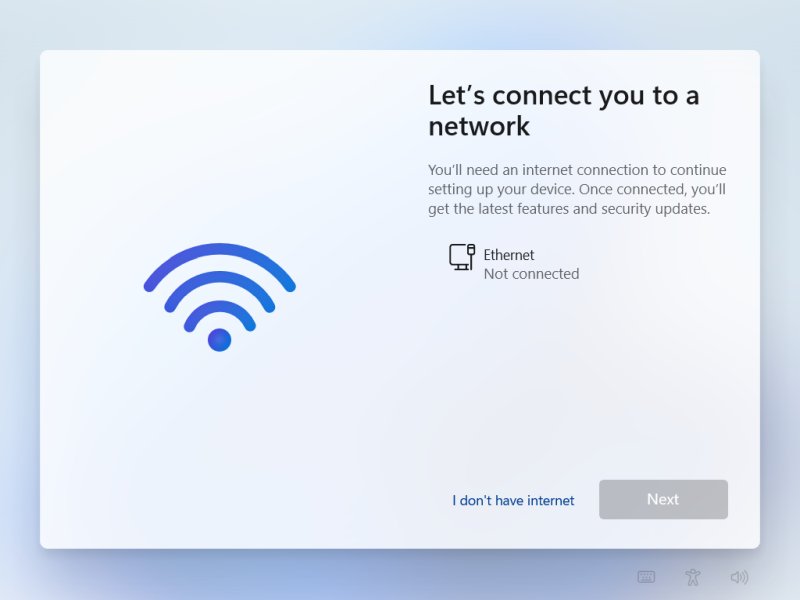
At this stage, the installation process will pause. On Windows 11 Home, you cannot continue without an Internet connection because Microsoft forces you to create an online account.
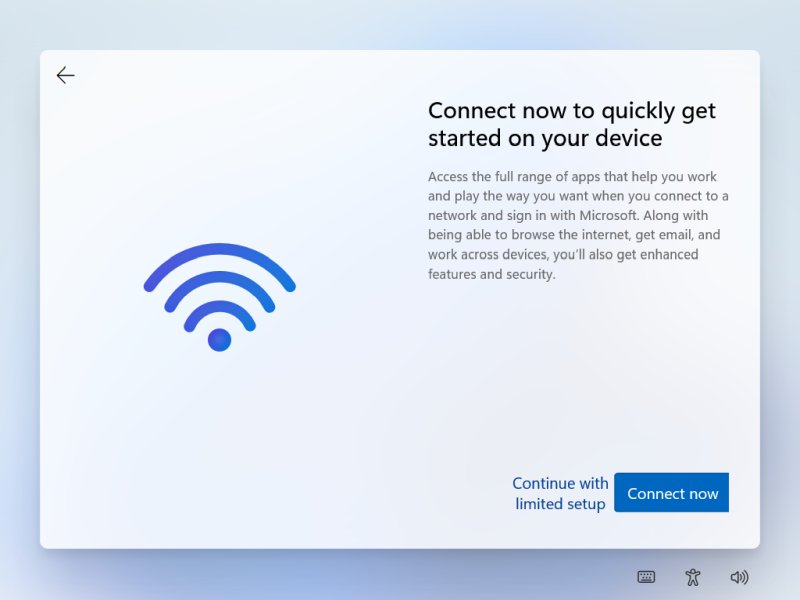
On Windows 11 Pro, however, you can bypass this step and proceed with a so-called “limited account.” Ironically, this term is misleading—the local account is actually the better, more private option compared to the cloud-based one.
If you used Rufus and you ticked the box that says “Remove requirement for an online Microsoft account”, you won’t see the screen above. We will get to what you will see in a second. Let’s assume you didn’t tick the box and need to solve this manually.
Press Shift + F10. This will open a command prompt. Type:
OOBE/BYPASSNRO
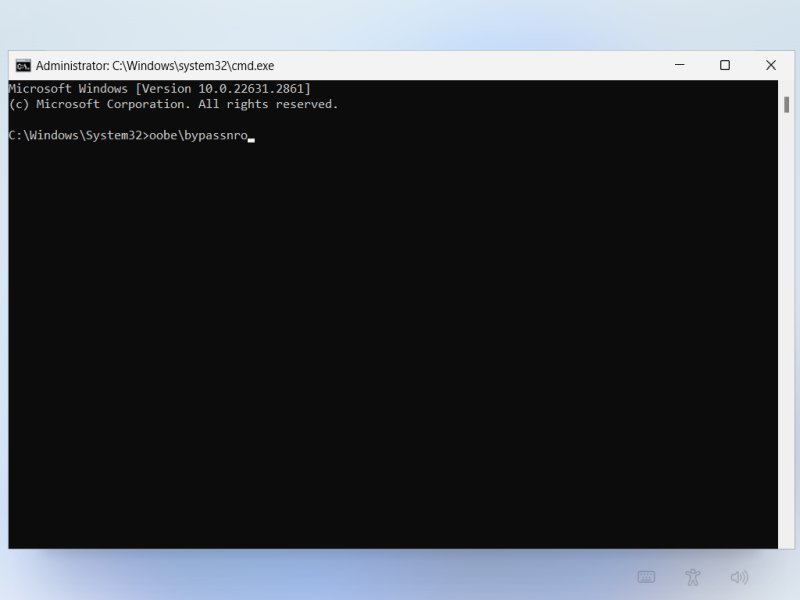
The system will reboot. You will need to repeat the language, region steps. Then, you will still see the network connect step, but there will also be a new entry that reads “I don’t have internet”. Click on that, and you will be able to create a local account. If you used Rufus, then this is the step you will see right away, instead of having to do that interim reboot.
The UI is a bit truncated in a virtual machine I used for this demo + screenshots. Nothing to worry about.
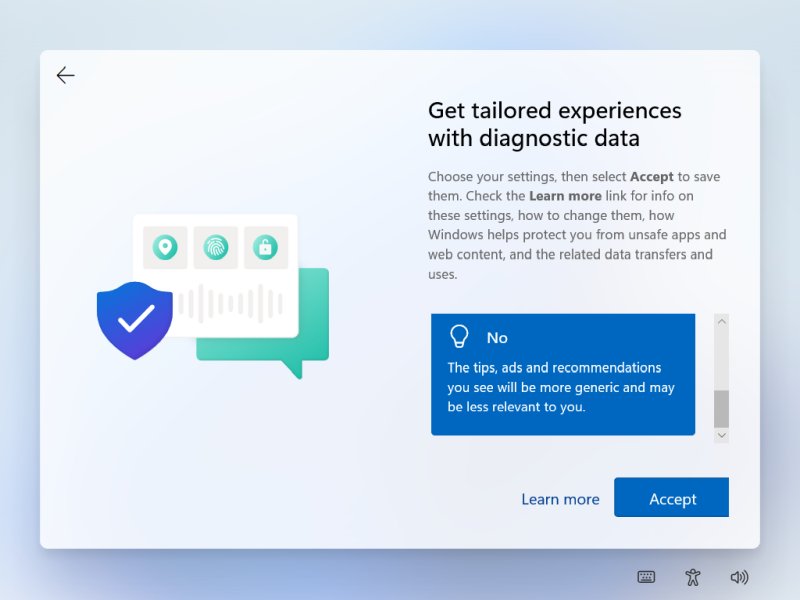
Post-Install Questions
After installation, Windows will prompt you with a series of questions—about location access, device tracking, diagnostics, inking and typing data, targeted ads, and advertising IDs. My advice: decline all of them.
The idea of ads inside an operating system is especially frustrating. Beyond that, there’s also the cultural angle—much of the ad targeting feels disconnected and irrelevant. Maybe it makes sense if you live in Silicon Valley, but for me, it’s unnecessary and unwelcome.


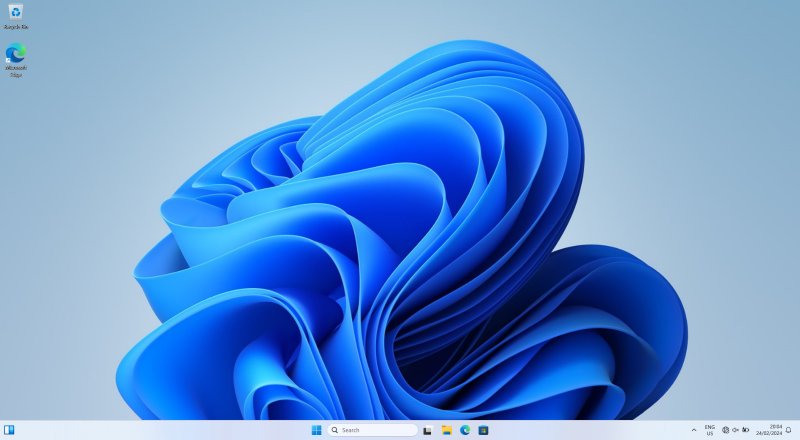
Once those questions are done, Windows will complete its setup and bring you to the desktop. But hold off on connecting to the Internet just yet. There’s still a long list of tweaks and cleanups we need to perform before this system is ready to safely go online. Think of it as a purification and taming process.
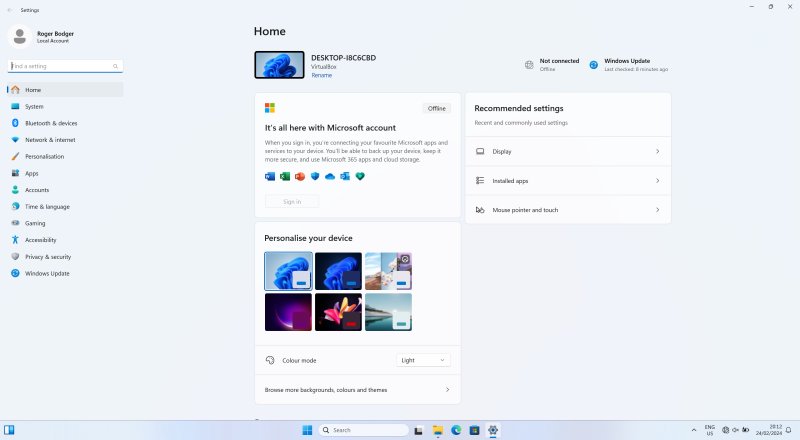
The next step is to open Settings and methodically go through every option, one by one. Yes, it’s tedious and feels unnecessary—but it’s essential. The process is reminiscent of setting up an Android phone, which highlights the bigger issue: Microsoft’s attempt to treat the desktop like a touch device. This approach is misguided and needs to be resisted firmly.
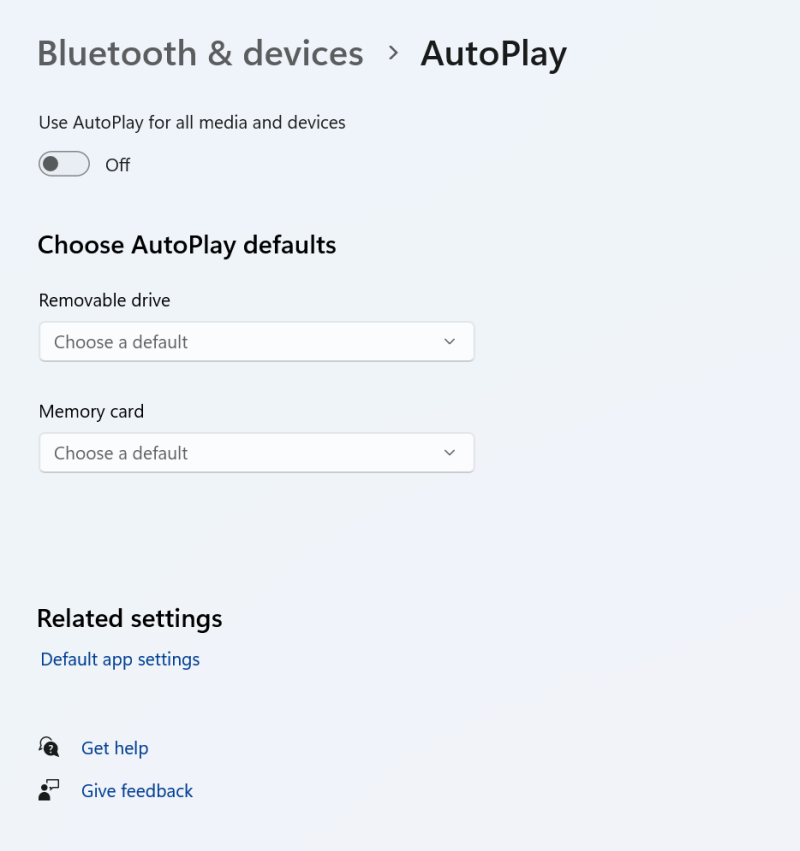
Bluetooth & devices
Turn Autoplay off for all media. There’s no reason why anything should ever autoplay.
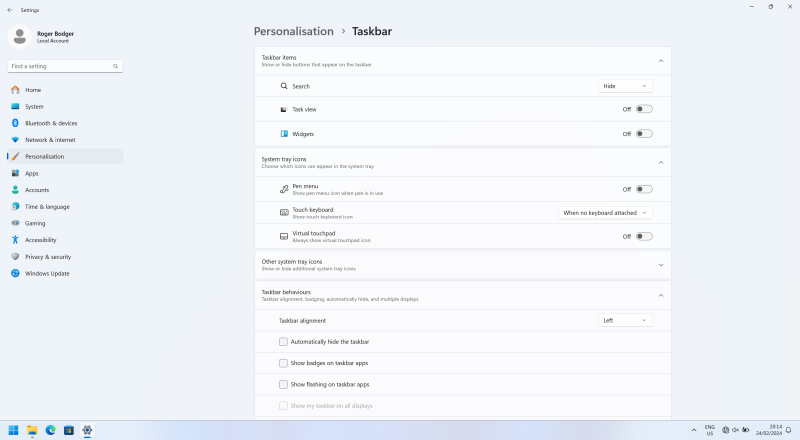
Personalization – Taskbar
My first step is to simplify the taskbar: disable Search, remove Task View, and get rid of Widgets. I also strip away anything touch-related and move the taskbar to the left, where it logically belongs. This is just the starting point—we’ll eventually replace the taskbar and Start menu entirely, but that comes later.
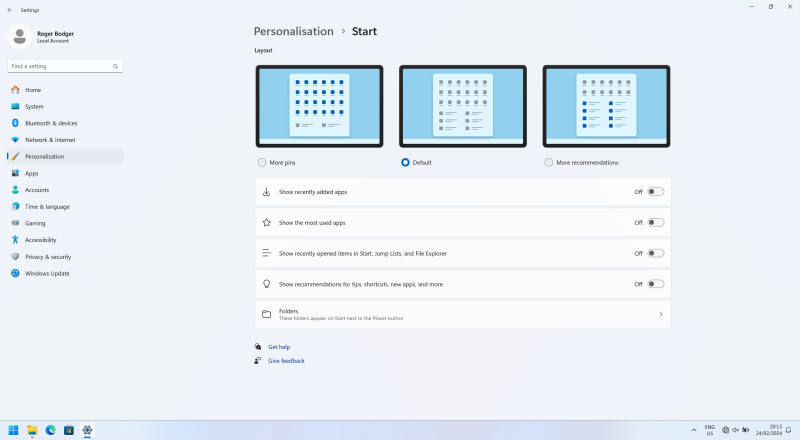
Personalization – Start
We won’t replace the Start menu immediately. The plan is to first disable all the annoyances—turn off suggestions and recommendations—then let Windows update itself. Once that’s done, we’ll install Open-Shell to fully replace the default Start menu.
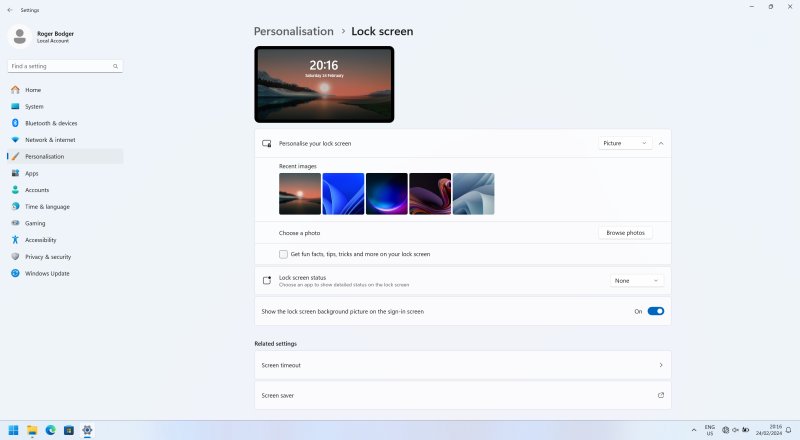
Personalization – Lock
Similarly, disable any “fun facts, tips, tricks and more on your lock screen”. I mean, seriously?
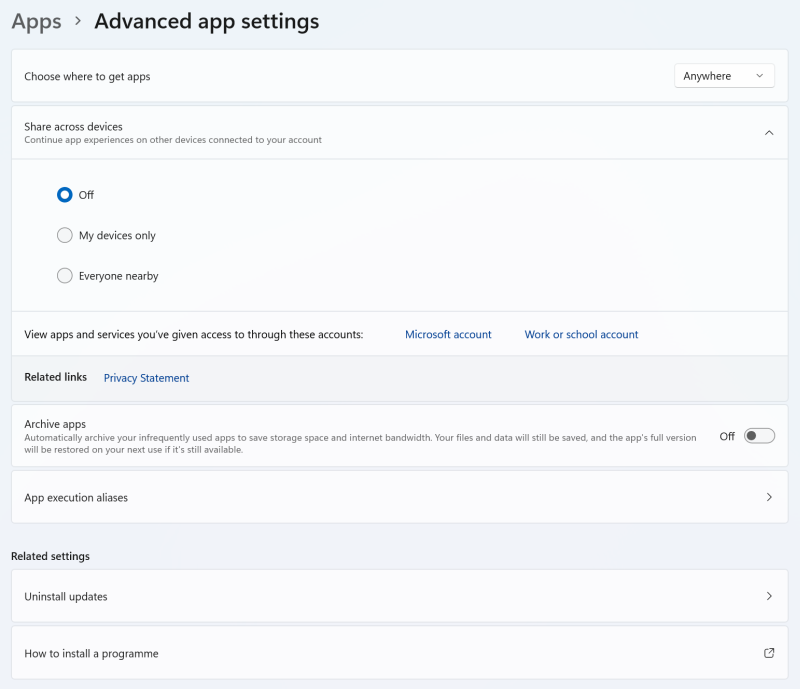
Apps
This section takes some effort and involves multiple steps. To begin, I adjust only a few key settings:
- Set “Choose where to get apps” to Anywhere, so you can install proper desktop software instead of being restricted to the Microsoft Store (which makes little sense on a desktop).
- Disable features like app sharing, archiving, or any other so-called “modern” conveniences that add no real value.
These adjustments mostly affect modern Windows apps. Classic desktop programs remain untouched—and they will always be far superior to any touch-inspired or touch-optimized apps on a traditional PC.
Install Firefox
Next, install Firefox—my go-to browser across all platforms, including mobile. It supports powerful extensions like NoScript and uBlock Origin, giving you a high-privacy, efficient browsing experience without wasting power or bandwidth.
This is why we downloaded the offline installer earlier: you can install Firefox without launching Edge or connecting online. If you don’t plan to use it, there’s no obligation. Once installed, return to the Apps settings.
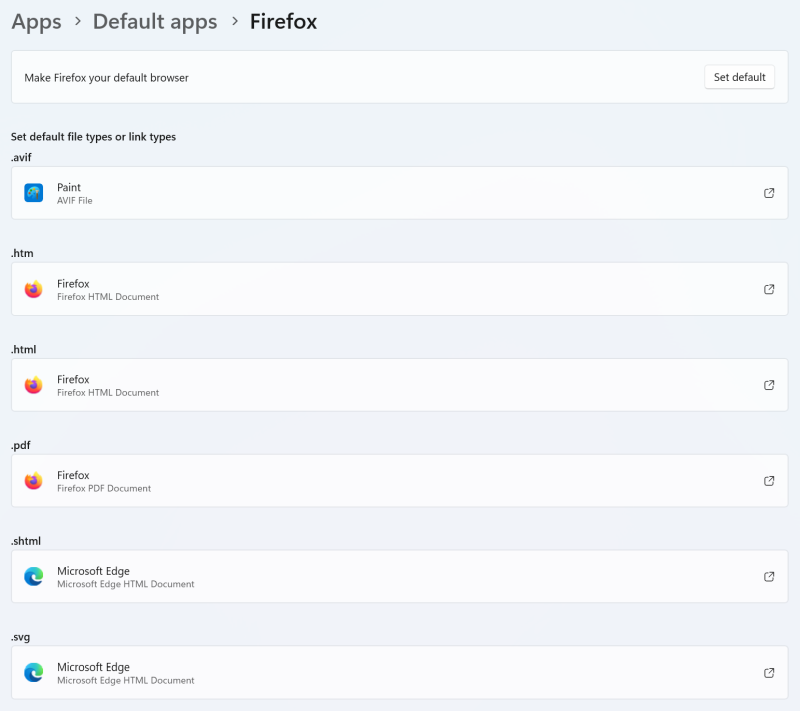
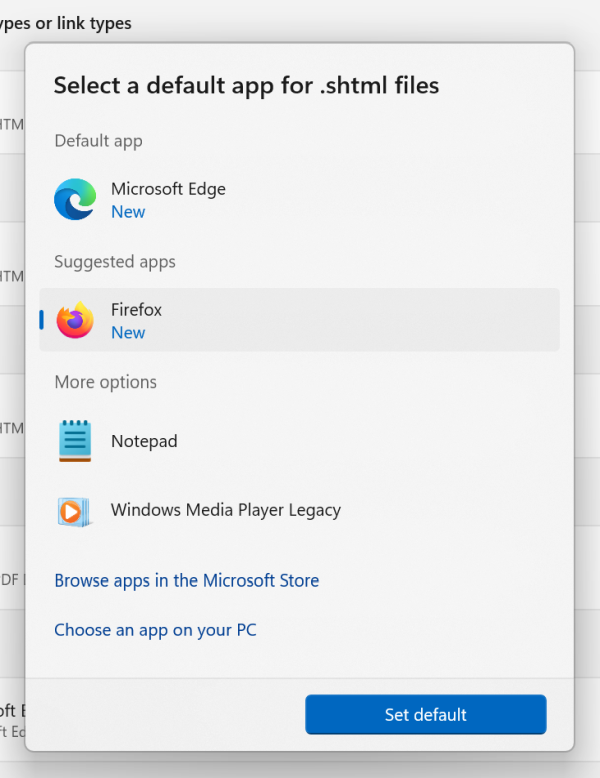
Default Apps
After installation, select Firefox and click Set as default to make it the primary browser for all web-based protocols. Adjust any other options manually if needed. As mentioned earlier, we’ll handle the removal of unnecessary apps later.
App Startup
Managing app startup is crucial and involves multiple steps. Begin by toggling off unnecessary programs, such as Cortana—it won’t function on a local account anyway, so there’s no reason for it to run in the background.
Later, we’ll take more advanced steps using Autoruns, Winaero Tweaker, and command-line tools like winget and PowerShell to remove various unnecessary Windows apps and components, ensuring the system runs lean and efficient.
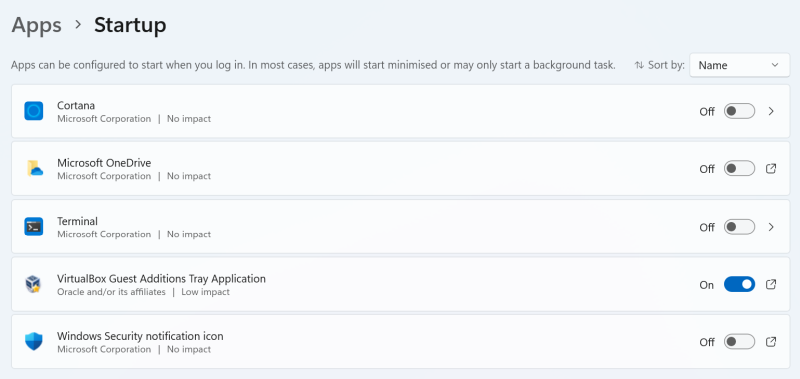
I don’t allow Terminal to run—this isn’t Linux, and I’m not a developer, so there’s no point. I also have no need for OneDrive, a security notification icon, or any “AI” assistant. Rest assured, all of these will be removed permanently in the later steps.
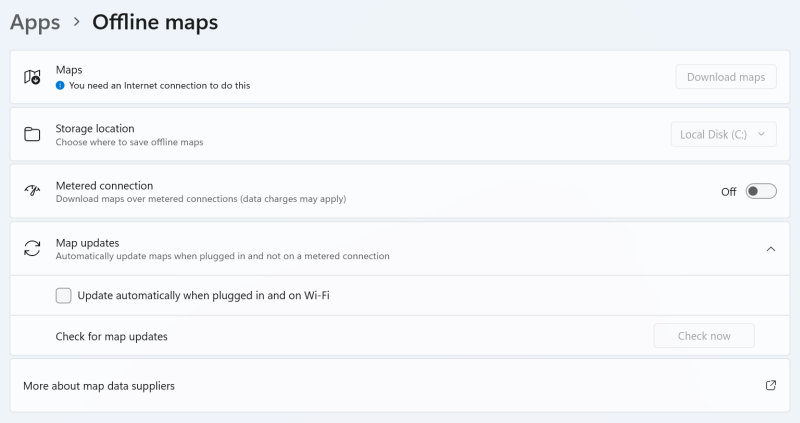
Offline maps
Why maps are a thing on a desktop/laptop, beats me. I disable any updates here.